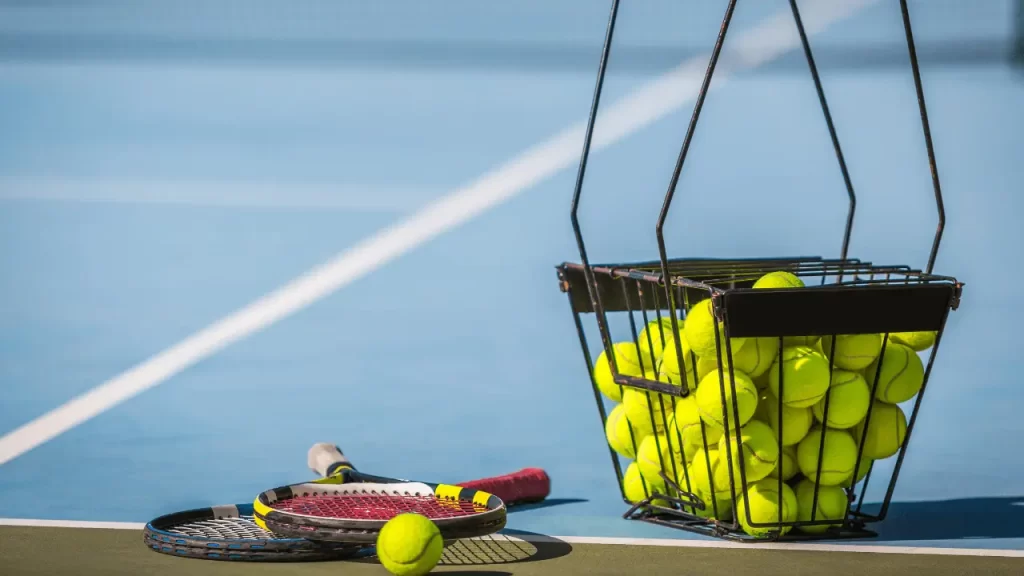
How To Serve In Tennis – Master it Faster 2025
The tennis serve is similar to the starting line of a marathon. Learning how to serve in tennis is your first move in tennis, and it can help you win. When you serve, you get to hit the ball first and decide how it goes. But serving isn’t just hitting the ball over the net; it’s about making it hard for your opponent to hit back.
Serving well can be tricky, no matter if you are just starting out or a pro. It’s like putting together a puzzle. But don’t worry, we’re here to help. We’ll start with basic concepts and then go on to some unique methods to improve the strength of your serve. You can also watch youtube videos before you are just starting out.

So, get your racket and shoes, and let’s learn how to serve in tennis like a champ! In this article, we’ll go deep into the art of serving, covering everything from the basics to advanced techniques. You can elevate your serving game to the next level by going through my personal guide on how to serve in tennis.
Summary Table: How to Serve in Tennis?
| Steps | What to do? |
|---|---|
| 1. Stance | Stand behind the baseline. Keep feet parallel to the baseline. For right-handers, the front foot points to the right. Align the heel of the back foot with the heel of the front foot. |
| 2. Grip | Use the continental grip (similar to holding a hammer). Place your left hand’s index finger between your right thumb and index finger. |
| 3. Toss & Backswing | Place the ball in the center of your hand. Toss it straight up with a straight arm. Simultaneously, start your backswing. |
| 4. Power Move | Let the racket drop as your body rotates forward. Imagine a rubber band stretch and stay relaxed. |
| 5. Serve in Two Parts | Finish the toss and backswing, then catch the ball. Toss it again and complete the hitting part. |
| 6. Follow-Through | Allow a fluid follow-through. Let the racket move naturally to the left side. |
| 7. Consistency | Work on consistent shoulder-level ball tosses. Practice hitting specific target spots. Maintain proper weight transfer and balance. |
The Basics of a Tennis Serve: How to Serve in Tennis for Beginners
The tennis serve, often considered the most challenging and crucial shot in the game, can be a formidable weapon in your arsenal when executed correctly. While the serve may look simple, success in this area necessitates a thorough grasp of its mechanics. In this guide, we will take you through a step-by-step guide to build a solid foundation for a powerful and precise tennis serve.
How to serve in tennis: A step-by-step guide
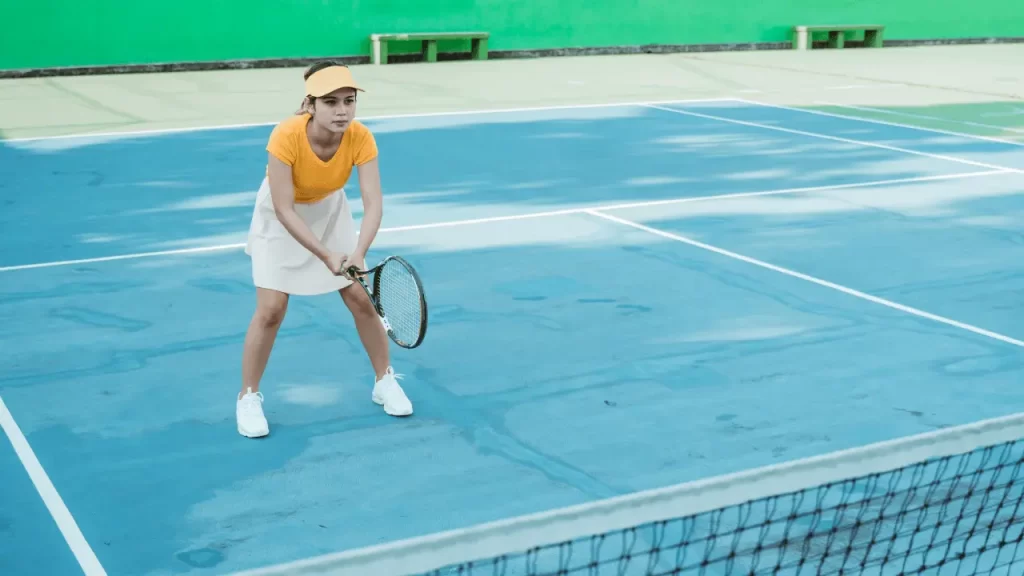
Step 1: Find the right stance
To serve like a tennis pro, you must begin with your feet. You need to place yourself behind the white line on the court, known as the baseline. Pay attention to your feet now. If you’re right-handed, aim your front foot toward the right net post. Your back foot should be parallel to your front foot’s heel.
Platform Stance: When serving, there are two ways to stand. One is known as the “platform stance.” During your serve, your feet do not move much. To strike the ball, simply bend your knees, rotate your body slightly, and push up. It’s like a massive energy burst.
Pin-Point Stance: Another option is to choose a “pin-point stance.”At first, you take the platform stance, but as you toss the ball up, you take your back foot near your front foot. Then, you push yourself up to hit the ball. If you’re a taller player who doesn’t need a powerful serve, this is a nice option.
So, get your feet in the proper position and prepare to serve it up.
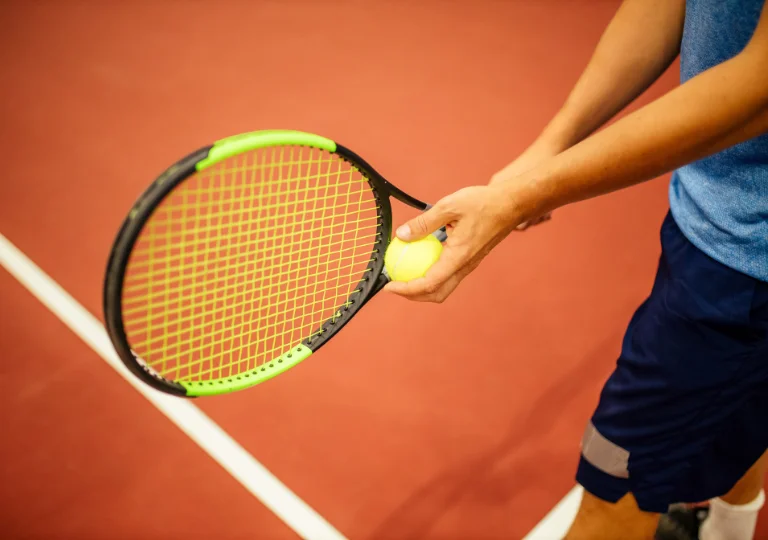
Step 2: Hold the Racquet Right
A “continental grip” is required for a good serve. It may sound complicated, but it isn’t. Here’s how to go about it:
As if you had a hammer in your hand. When you hold a hammer, the flat part should be up, not the pointy end. That’s the way you want to hold your racquet. Check that the flat section of the racquet face is pointing up at the sky.
Here’s a fast test to determine if you have the proper grip. Insert your left index finger (if right-handed) into the little area between your right thumb and index finger. It’s similar to forming a small valley.
Check the position of your left index finger on the racquet handle. You’ve got the continental grip if it’s pointing to the top left edge, just like the pros. This grip allows you to serve in a variety of exciting ways! So, keep that Tennis racquet tight but not too tight, and you’ll be well on your way to a fantastic serve!
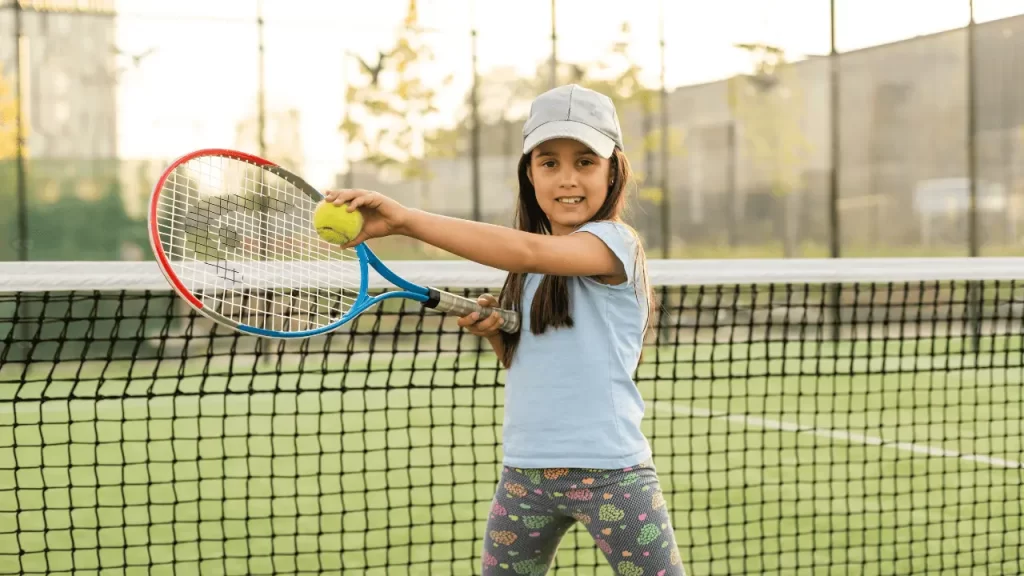
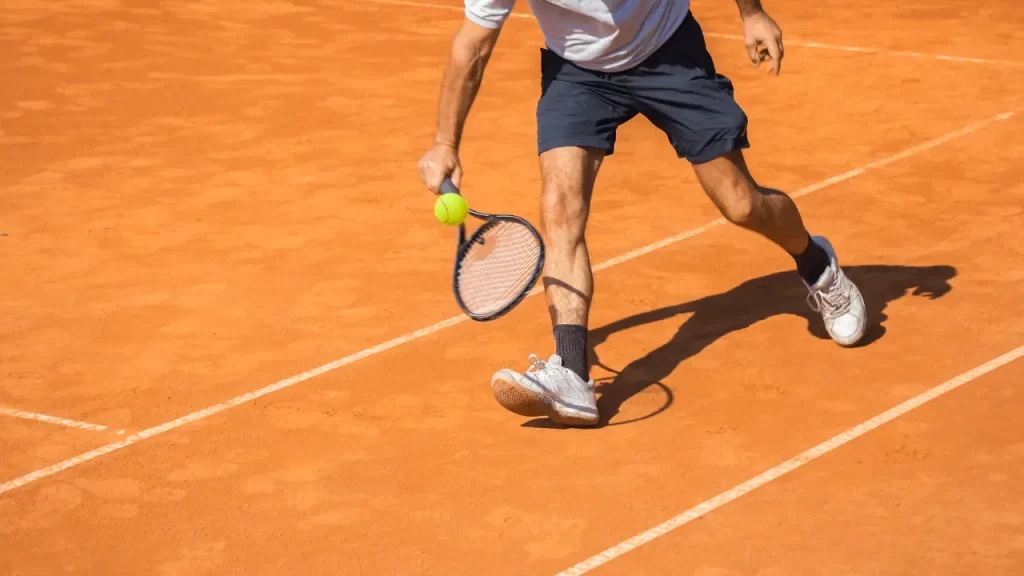
Step 3: Hitting Technique – Loose Drop, Swing Up, and Pronation
Now for the enjoyable part: hitting the tennis ball. Before we begin, remember that everything you did before, such as twisting your body, bending your knees, and assuming the trophy stance, was all about generating strength. It’s now time to let go and make a strong serve.

During this service, you should keep three things in mind:
1. Loose drop: Engage your racquet and arm in the movement. Allow them to drop freely behind you just before swinging up. This is critical because it keeps the energy flowing.. You lose power if you pause for even a second. So, keep it loose and moving.
2. Swing up and make contact: Consider you’re swinging at a 45-degree angle towards the ball, leading with the edge of your racquet. It’s like trying to follow a trail with balls on the ground. When you make contact with the ball, you push it toward the net. That right there is the magical moment!
3. Pronation: Here’s where things get a bit complicated but also really cool. You see, the route of your racquet before and after striking the ball isn’t the same. It’s as though you’re dancing two distinct dances. You swing at a 45-degree angle toward the ball before making contact. You push the racquet towards the net after making contact. This is known as pronation, and it’s the key element to the perfect serve.
So, keep it free, swing it up, and don’t forget about pronation. You’ll be hitting those serves like a pro in no time with these moves.
Step 4: Swing Back and Toss the Ball
Okay, now it’s time to put some more pieces of the serve puzzle together – the backswing and the toss. These two things need to work together to make a pro-serve.

Let’s talk about the toss first. Tossing that tennis ball into the air might seem easy, but it takes practice. Here’s how to do it:
- Hold the ball in the center of your hand, with your thumb softly on top.
- Keep your arm straight, and use your shoulder to toss the ball.
- When the ball is at your eye level, let go of it while raising your tossing arm.
- Start the toss right when you begin your backswing.
Now, let’s talk about the backswing. It’s like having a steady pendulum swaying back and forth. The main thing is to keep things easy and handy. This will help you smoothly transition into what we call the “trophy position.”
Now, let’s talk about the “trophy position.” When your arm is in this position during your serve, you don’t want your racquet to be completely upright like a flagpole. That can cause problems, making it fall backward, like a waiter holding a tray.
Instead, think of a slightly diagonal racquet position. The main goal here is to be simple and smooth. Bring your racquet closer to your head so that the bottom edge contacts the back of your head as you do this. Then, move the racquet just a bit away from your head. This sets you up nicely in the trophy position.
Here’s a simple tip: Before you start the toss and backswing, turn your body so it’s parallel to the baseline. It’s like winding up before throwing a baseball. This twisting motion creates power for your serve when you start to unwind.
If you toss the ball before you begin this body rotation, you might lose some of the power and accuracy in your serve. So, remember, start with your body turn, then go into the toss and backswing. It may take some practice, but it’s well worth it for a powerful and precise serve.
Step 5: Practice Serve in Two Parts
Let’s divide the service into two parts now. First, we have the backswing and throw (remember Step 4), and then we have the hitting (as discussed in Step 3).
This is how it works: Complete the backswing and toss and catch the ball in your hand while keeping the trophy stance we discussed. Then, toss the ball back up and finish the hitting section, including the drop, swing, and pronation. Continue doing this until you can effortlessly toss the ball and find your trophy location.
Step 6: The Power Move
To make your serve more powerful, remember this key move: it all starts when you’re in that trophy position we talked about earlier. To make your serve stronger, remember this:
- You start in the trophy position.
- Then, Drop your racquet.
- Turn your body forward.
When you do this, your racquet lags like a whip. Think of it as stretching a rubber band from your shoulder down to your hip (if you’re right-handed). Here’s a tip: Stay relaxed, don’t tense up. You don’t need to be super strong. Let your body stretch and snap back naturally, like that rubber band.
This step might seem hard, but it’s important for everyone. It helps your racquet move faster with less effort. You turn your body, your trunk and shoulders go forward, and your racquet lags behind.
You can turn your body more if it helps, like facing the net. But avoid rotating at a 45-degree angle. That’s when the energy in your body goes to your arm. Your arm is lighter, so it speeds up, giving your serve power.
Step 7: Finish with the Follow-Through
Now, let’s get into the whole serve. Begin with a few serves in two pieces, then go to the whole serve from start to finish.
Here’s a key tip about the follow-through: Pros let their body and serving arm relax which guides the racquet to the left side (for right-handers) at the end of the serve. They don’t actively swing or push the racquet in that direction.

You must focus on the direction and force of your swing. For right-handers, it’s forward and to the right, roughly at a 45-degree angle, which changes as pronation occurs. Once pronation is complete and the ball is in motion, begin relaxing your body and arm because all of the efforts have been completed. This relaxation naturally causes your arm to go to the left side.
So, remember, some parts of the serve involve intentional swings and force, while others happen naturally due to relaxation and inertia. Don’t force the parts that should happen naturally. Go with the flow, and you’ll serve like a pro.
Tennis Serve Types
- Flat Serve
Tennis’ flat serve is all about power and speed. You can practice it with a Continental grip. When you need to make a statement with your serve, especially on your first attempt at a point, this is your go-to. It might catch your opponent off unexpectedly, making it difficult for them to recover. However, here’s the catch – it demands precision, and if you’re not particularly tall, it can be a bit of a challenge due to its flat trajectory. Mastering the flat serve adds a potent weapon to your tennis arsenal, but it might take some practice to perfect.
- Slice Serve
The slice serve is a clever tactic in tennis. When you use a slice serve, you put a twist on the ball, making it spin sideways as it flies over the net. This spin makes the ball bounce in tricky and unpredictable ways, often skidding low and wide to the opponent’s backhand side. This can be a real headache for your opponent, as it forces them to move quickly and adjust their positioning on the tennis court. It keeps your opponent guessing while giving you an advantage in the rally.
- Kick Serve
When you perform a kick serve, you add topspin to the ball. When the ball strikes the ground on your opponent’s side of the court, it bounces high and comes up quickly. It’s as if the ball has its own mind, going up and shocking your opponent. The kick serve is a secret weapon.
- Underhand Serve
The underhand serve is an uncommon and somewhat controversial technique in tennis. It’s typically used by beginners and players with injuries. Instead of the usual overhead swing, you gently scoop the ball underhand, causing it to clear the net at a slower pace. This slower pace often results in the ball bouncing twice before your opponent can react.
Getting a Consistent Serve
In tennis, having a reliable service is crucial. Here’s how you can increase your service’s consistency, and I’ll guide you through it step by step.
Toss the Ball Right: To begin, you must continuously toss the ball. Consider your shoulder to be the target for your toss. Toss the ball at shoulder height every time. When doing this, don’t wiggle your body or flick your wrist too much. Maintain a steady pace.
Target Training: You should practice aiming for certain places in your opponent’s serve box on a regular basis. Consider the serving box to be split into portions, similar to pizza slices. Try to strike each slice one at a time. During a match, this will assist you in getting your serve exactly where you want it.
Watch Your Feet: Lastly, When serving, make sure your weight transfers properly and that you remain balanced. Good footwork is the cornerstone of a powerful serve. To do this step properly, practice shifting your feet smoothly.
So, remember these steps: Toss right, aim at your target, and mind your feet. With practice, your serve will become super reliable.
Practicing the Natural Flow for Effortless Power
Let’s speak about finding your flow now, as we’ve been splitting the serve down into smaller components. We must use our natural bodily flow to develop an effortless serve.
Here are several examples:
1. Serve Master: This is an excellent tool. Swing it indefinitely to replicate the complete service action. Feel how your body moves and how quickly you can accelerate the Serve Master.
2. Ball on a String: Another good choice. To recover that mobility, gently swing a ball linked to a string.
3. Three-Finger Drill: Hold your racquet with only your thumb, index, and middle finger. This challenges you to maintain a loose grip while promoting fluid movement.
4. Edges Drill: While performing the previous drills, lead with the edge of your racquet. This helps to avoid errors and trains your arm placement throughout the serve.
By combining these strategies, your service will become easier, forceful, and elegant. On the court, it’s all about flowing like a pro.
Conclusion
In conclusion, the tennis serve is a fundamental aspect of the game, serving as the starting point for every point. Whether you’re aiming for a powerful flat serve, a tricky slice serve, a topspin-loaded kick serve, or even opting for an underhand serve, mastering these techniques of how to serve in tennis is crucial to diversifying your game and keeping your opponents on their toes.
Consistency, balance, and proper grip are essential elements in developing an effective serve, and continuous practice and refinement will elevate your skills. So, get out on the court, work on your serves, to enjoy the thrills of tennis. Knowing all these tennis serve rules can make you a rockstar if you stay consistent with the right approach.
Frequently Asked Questions
What is the ideal ball toss height for a tennis serve?
The ideal toss height for a tennis serve is typically around shoulder level. This enables you to make firm contact with the ball while also generating force and control in your serve.
How can I make my tennis serve more consistent?
Practice leads to consistency in your serve. Maintain a steady ball toss and aim for particular areas in your opponent’s service box. Work on your footwork throughout your serve motion to maintain correct weight transfer and balance.
What should I use for my tennis serve grip?
You can use a continental grip. It’s versatile and helps you to perform a variety of serves, including flat, slice, and kick serve.. For better serving performance, practice and get familiar with this grip.